Bosch Security Alarm User Manual: A Comprehensive Guide
This manual provides detailed instructions for operating your Bosch security system, covering features like SIA format output, two-way audio, and time/date settings.
Understanding Your Bosch Security System
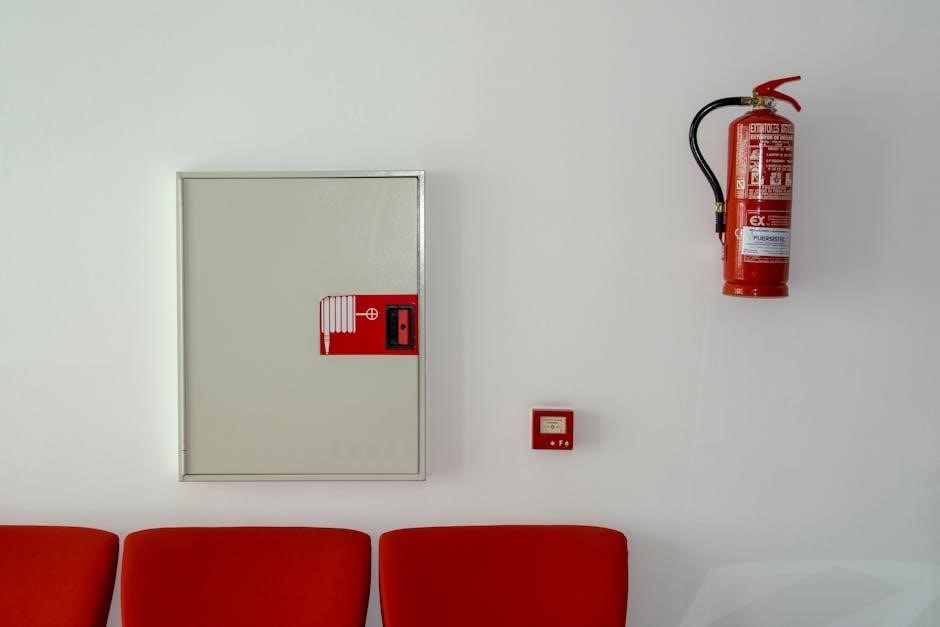
Your Bosch security system is a sophisticated electronic safeguard designed to protect your property and loved ones. It utilizes a network of sensors and a central control panel to detect intrusions and alert you and, optionally, a professional monitoring center. The system’s capabilities extend beyond simple intrusion detection, incorporating features like gas alarm notification – indicated by a flashing LED – and communication protocols such as radionic 6500 and SIA formats for seamless integration with alarm receiving centers.
Understanding the system’s status is crucial. The control panel displays icons indicating whether the system is armed, disarmed, or experiencing trouble. Familiarizing yourself with these indicators, alongside the keypad functions for arming, disarming, and initiating emergency responses, will ensure effective operation and peace of mind. Regular system testing is highly recommended to confirm full functionality.
System Components & Overview
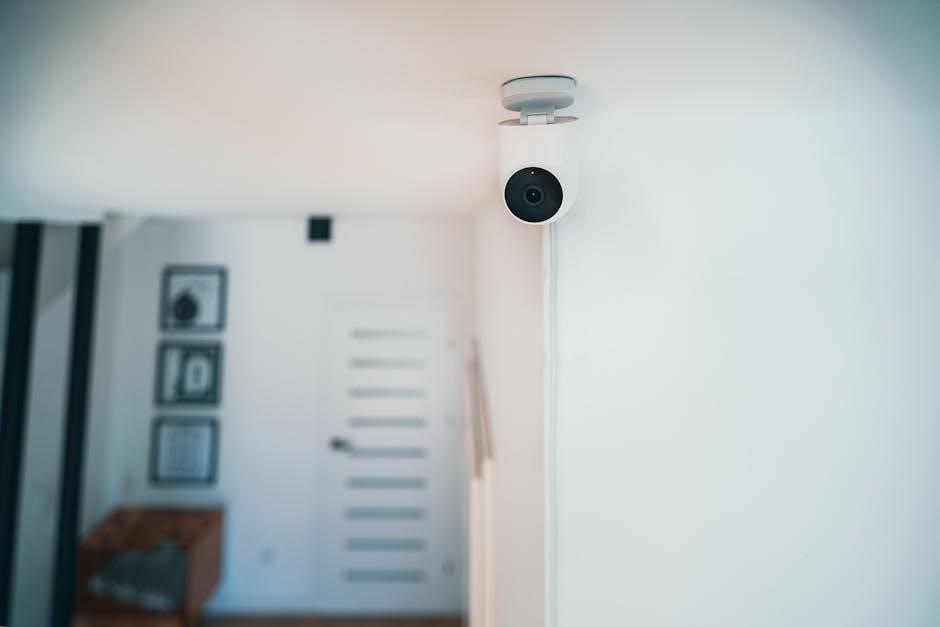
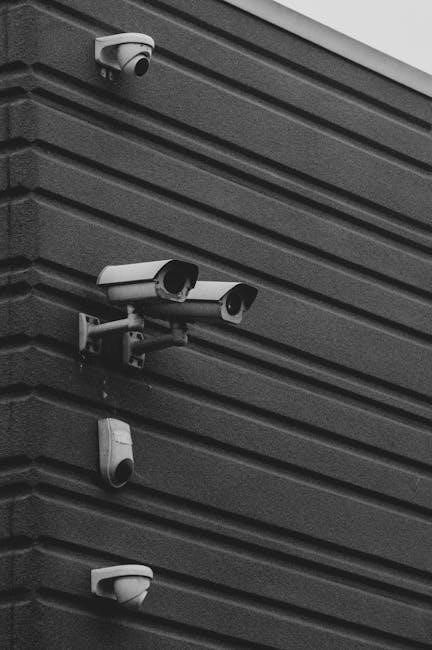
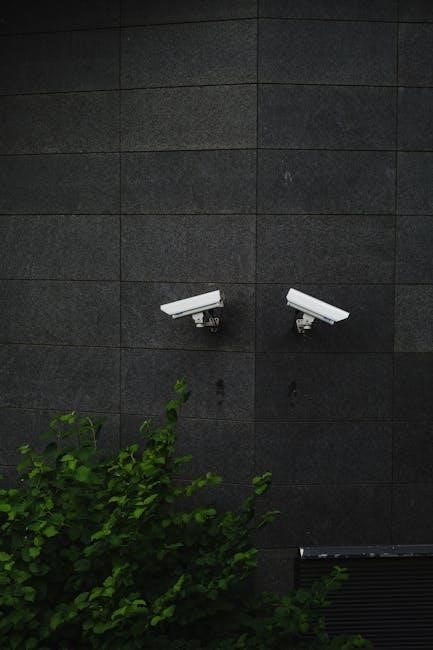
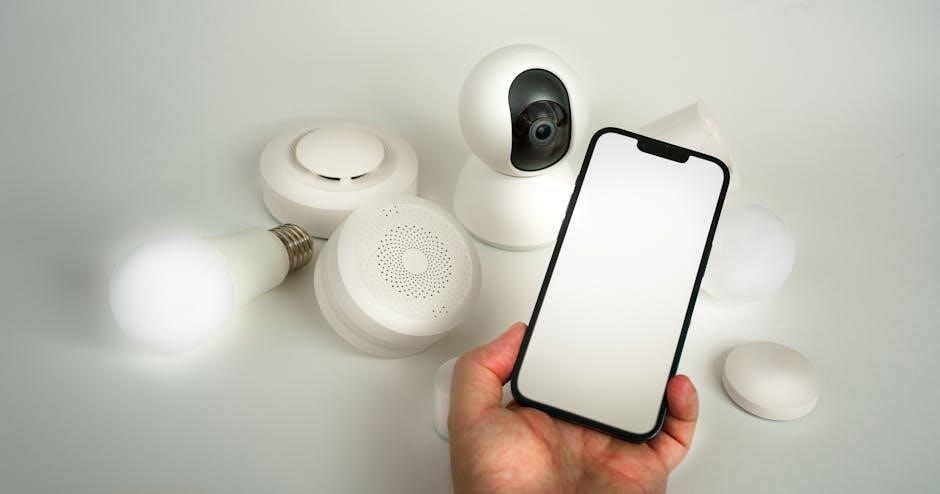
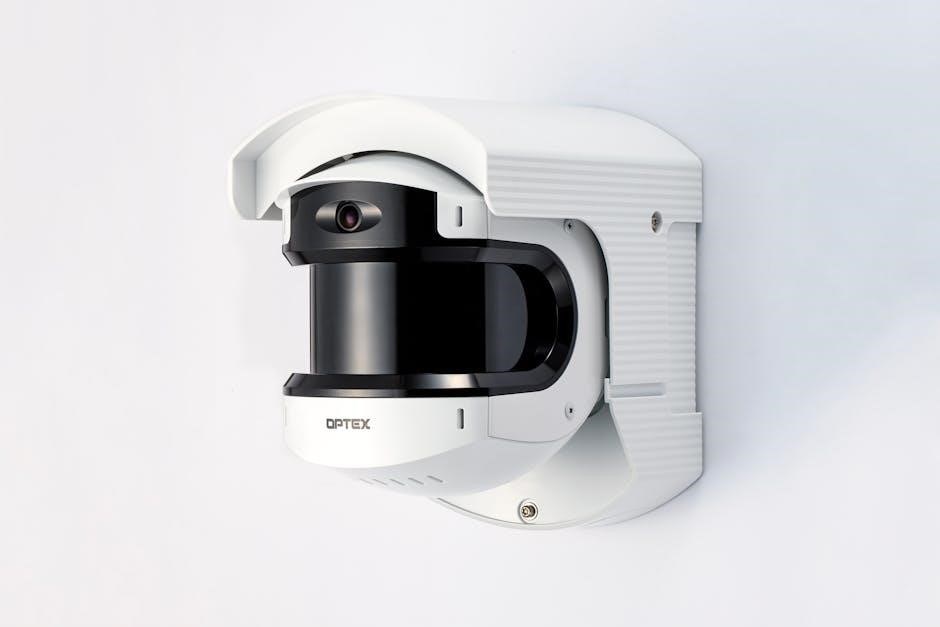
A typical Bosch security system comprises several key components working in harmony. The central control panel serves as the brain, processing signals from various sensors – including door/window contacts, motion detectors, and potentially gas sensors. Keypads provide user interaction for arming, disarming, and programming. The system often includes a backup battery to maintain operation during power outages.
Communication with the outside world is facilitated through connections to an alarm receiving center (ARC), utilizing formats like SIA. Some systems feature integrated listen-in capability with two-way audio, allowing remote monitoring. LED indicators on the panel display system status – armed, disarmed, trouble, and gas alarm alerts. Direct interfaces to automatic computers are also possible, enhancing automation capabilities.
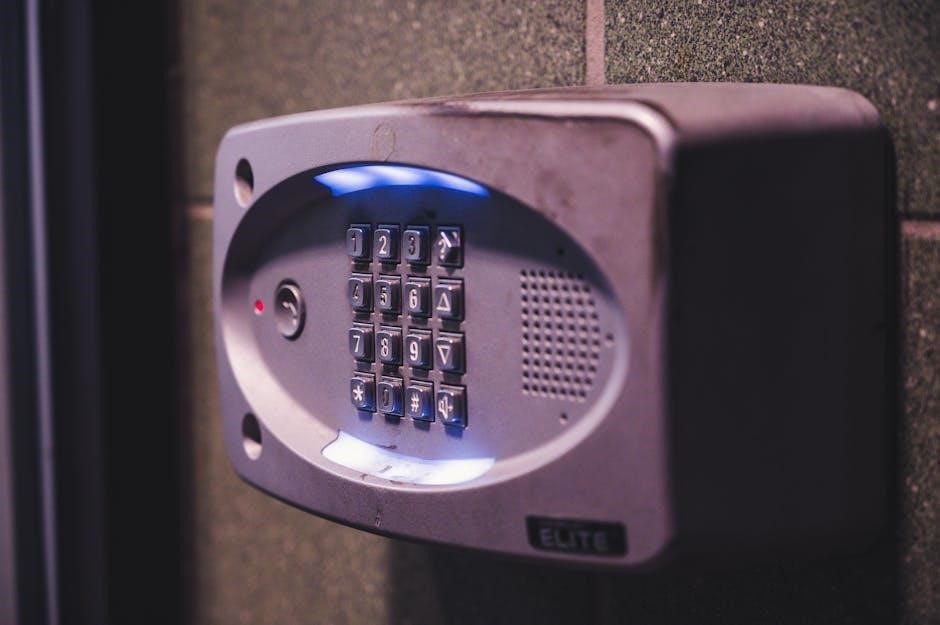
Control Panel Interface & Indicators
The Bosch control panel features a user-friendly interface designed for intuitive operation. The display shows crucial system information, including the current time and date. Key LED indicators provide at-a-glance status updates: “On” signifies readiness to arm, while “Off” indicates the system isn’t prepared. An illuminated “Armed” indicator confirms all areas are secured, and “Disarmed” signals compromised zones.
A “Trouble” indicator alerts users to system faults, device issues, or point problems. A flashing light specifically denotes a gas alarm. Accessing the installer menu allows for advanced configuration, but caution is advised. Functions like showing fault conditions, setting the system time/date, and changing the master code are accessible through the panel’s controls.
Display Icons: Status at a Glance (Armed, Disarmed, Trouble)
The Bosch system utilizes clear display icons for quick status assessment. The Armed icon illuminates when all designated areas are fully protected, providing immediate reassurance. Conversely, the Disarmed icon indicates one or more zones are vulnerable, requiring attention. A prominent Trouble icon signals system malfunctions, device errors, or sensor issues demanding investigation.
Understanding these icons is crucial for effective monitoring. A steady “On” state generally signifies normal operation, while an “Off” state suggests a potential problem. Specific icons may also indicate gas alarms, requiring immediate action. Regularly checking these indicators ensures your security system is functioning optimally and provides a proactive approach to safety.
Keypad Functions: Arming, Disarming, & Emergency Buttons
Your Bosch security keypad is the central control point. Arming the system initiates protection, utilizing user-defined codes for security. Disarming requires entering the correct code, granting access and deactivating the alarm; Familiarize yourself with these procedures for seamless operation.
Beyond standard arming/disarming, the keypad features dedicated Emergency Buttons for immediate assistance. These buttons can trigger alerts to a monitoring center or local authorities. The keypad also allows access to features like setting the System Time & Date and viewing current status; Remember to protect your user codes and understand the functions for optimal system control.
Arming and Disarming the System
Successfully securing your property relies on mastering the arming and disarming procedures of your Bosch system. The system offers multiple Arming Modes – Stay, Away, and Night – each tailored to different scenarios. Stay Mode protects the perimeter while allowing movement inside. Away Mode secures the entire property. Night Mode offers customized protection during sleep.
Disarming Procedures require entering your authorized user code via the keypad. Ensure all occupants are aware of the correct code. Pay attention to Delay Settings; these provide a grace period for Entry and Exit Delays, preventing false alarms. Proper use of these features ensures reliable security and minimizes inconvenience.
Arming Modes: Stay, Away, and Night Modes Explained
Your Bosch security system provides versatile Arming Modes to suit various needs. Stay Mode is ideal when you’re at home, arming only perimeter doors and windows, allowing interior movement. This is perfect for nighttime or when someone remains inside. Away Mode fully arms all sensors, protecting the entire premises when you’re absent. Ensure all doors and windows are closed before activating.
Night Mode offers a customizable option, often used to arm perimeter sensors and potentially specific interior motion detectors. This allows for a balance between security and comfort during sleep. Understanding each mode’s function is crucial for effective security. Select the appropriate mode based on your current situation for optimal protection.
Disarming Procedures: Entering User Codes
To Disarm your Bosch security system, access the Control Panel and enter your unique User Code via the Keypad. Ensure the system is not experiencing a trouble condition, indicated by illuminated trouble icons. Upon successful code entry, the system will transition from the armed state to the disarmed state, deactivating the alarm triggers.
If an incorrect code is entered, the system may enter a lockout period to prevent unauthorized access. Refer to the system settings for lockout duration. Remember to keep your user code confidential and avoid sharing it with unauthorized individuals. Proper disarming procedures are vital for preventing accidental alarm activations and maintaining system security.
Delay Settings: Entry and Exit Delays Customization
Entry Delays allow a designated timeframe to disarm the system upon entering a secured premises, preventing false alarms. Exit Delays provide time to leave the property after arming the system, ensuring safe departure. These delays are customizable through the Installer Menu, though caution is advised when making changes.
Adjusting these settings requires the Master Code. Shorter delays offer quicker response but increase false alarm risk, while longer delays provide more convenience. Consider your routine and property layout when setting these parameters. Incorrectly configured delays can compromise security or cause unnecessary alarm activations. Always test the settings after modification.
Troubleshooting Common Issues
This section addresses frequent problems encountered with your Bosch security system. False Alarms are often caused by improperly installed sensors, pets, or environmental factors. Ensure sensors are securely mounted and consider pet-immune options. Low Battery Warnings indicate the need for immediate sensor replacement to maintain system reliability.
Communication Failures, specifically ARC Connection Problems, can occur due to network issues or signal interference. Verify your internet connection and contact your monitoring provider. To Show Fault/Trouble Condition, consult the panel display. Remember to Default the Panel and Set the System Time & Date if needed.
Addressing False Alarms: Causes and Prevention
False alarms are a common concern with security systems. Several factors can trigger them, including loose wiring, improperly adjusted sensors, or environmental disturbances like drafts or small animals. Prevention begins with careful sensor placement, avoiding direct sunlight or heat sources.
Regularly inspect sensors for physical damage and ensure they are securely mounted. Consider utilizing pet-immune sensors if you have animals. Adjusting sensor sensitivity can also reduce false triggers. If false alarms persist, review your system’s event log to identify patterns. Contact a qualified technician for assistance if you cannot resolve the issue independently.
Low Battery Warnings: Replacement Procedures
Your Bosch security system will alert you to low battery levels in sensors or the control panel, typically through a warning displayed on the panel or via the alarm receiving centre (ARC). Immediate attention is crucial, as depleted batteries compromise system security.
To replace batteries, first identify the affected device. Consult the system documentation for the correct battery type. Carefully open the device and replace the old battery with a new one, ensuring correct polarity. Test the device after replacement to confirm functionality. Dispose of old batteries responsibly. If the low battery warning persists, verify the battery connection and consider professional assistance.

Communication Failures: ARC Connection Problems
If your Bosch system experiences communication failures with the Alarm Receiving Centre (ARC), it indicates a problem transmitting alarm signals. This could stem from a disrupted phone line, internet connectivity issues, or a fault within the system itself. The panel will typically display a “communication failure” or “trouble” indicator.
First, verify your phone line or internet connection. Restart your modem and router. Check the system’s wiring to the phone line or network. If the issue persists, contact your ARC provider to confirm they are receiving signals. If the ARC confirms a system fault, contact a qualified Bosch installer for diagnosis and repair. Ensure the system is properly programmed for SIA format output.
Advanced System Features
Your Bosch security system offers several advanced features for enhanced control and customization. Zone programming allows you to define each sensor’s type (e.g., door, window, motion) and its response to alarm events. User code management enables adding or deleting authorized users, each with unique access codes.
You can also adjust the system time & date for accurate event logging. Changing the master code is crucial for security; follow the procedures carefully. Access to the installer menu allows for deeper system configuration, but caution is advised as incorrect settings can impact functionality. These features, combined with radionic 6500 compatibility, provide a robust security solution.
Zone Programming: Defining Sensor Types
Zone programming is a critical advanced feature, allowing precise customization of your Bosch security system. Each sensor connected to the control panel represents a ‘zone,’ and defining its type ensures the system responds appropriately to triggered events. You can categorize zones as instant, entry/exit delay, or no-entry delay, influencing alarm activation timing.
Proper zone definition differentiates between a door opening during disarming (entry delay) and a forced entry while armed (instant). This prevents false alarms and optimizes system responsiveness. Accessing the installer menu is required for zone programming, so proceed with caution and consult the full manual for detailed instructions. Accurate zone definitions are key to a reliable security setup.
User Code Management: Adding and Deleting Users
User code management is essential for controlling access to your Bosch security system. The system allows multiple users, each with a unique code for arming, disarming, and interacting with the panel. Adding new users involves assigning a unique code through the installer menu – remember to keep master codes secure!
Deleting users is equally important when personnel changes occur, preventing unauthorized access. The process, also within the installer menu, removes the code and associated privileges. Regularly review and update user codes to maintain system security; Proper user code management enhances accountability and ensures only authorized individuals can control your security system. Always document assigned codes for easy reference.
System Time & Date Setting
Accurate time and date settings are crucial for your Bosch security system’s functionality, enabling precise event logging and reporting. The system displays current time and date, vital for reviewing alarm history and ensuring correct operation of scheduled features. Setting the time and date is typically accessed through the installer menu, requiring the master code for authorization.
Incorrect time settings can lead to inaccurate alarm timestamps and potentially hinder investigations. Regularly verify the system time against a reliable source, especially after power outages or daylight saving time adjustments. Maintaining accurate time ensures your security logs are dependable and provides a clear record of system activity. Proper time synchronization is a fundamental aspect of system reliability.
Master Code Change Procedures
Protecting your Bosch security system begins with a strong, unique master code. Changing this code regularly is a vital security practice. Access to change the master code is found within the installer menu, requiring existing master code authorization. Follow the on-screen prompts carefully during the change process to avoid locking yourself out.
When selecting a new master code, avoid easily guessable combinations like birthdays or sequential numbers. A complex code significantly enhances system security. Document the new code securely, separate from the system itself. Remember, the master code grants full control over system settings, so its confidentiality is paramount. Regularly updating this code minimizes potential vulnerabilities.

Maintenance and Care
Consistent Bosch security system maintenance ensures reliable protection. Regularly test the system – weekly is recommended – to verify all sensors and communication links are functioning correctly. Inspect sensors for dust or obstructions, cleaning them gently with a dry cloth. Avoid using liquids or abrasive cleaners.
Check battery levels periodically, addressing low battery warnings promptly to prevent system failures. Familiarize yourself with accessing the installer menu, but exercise extreme caution when making changes, as incorrect settings can compromise security. Professional servicing annually is advisable for comprehensive system health checks and software updates, maximizing longevity and performance.
Regular System Testing: Ensuring Functionality
Weekly testing of your Bosch security alarm is crucial for confirming operational readiness. Initiate a test by activating each sensor – door/window contacts, motion detectors – and verifying a signal is received at the control panel. Observe the panel’s display for appropriate responses, confirming sensor status changes.
Test communication with the alarm receiving center (ARC) to ensure signals are transmitted and received correctly. Simulate an alarm event to verify the ARC’s response protocol. Document test results and address any discrepancies immediately. Consistent testing proactively identifies potential issues, preventing failures during critical moments and guaranteeing peace of mind.
Sensor Cleaning and Inspection
Regular inspection and cleaning of your Bosch security sensors are vital for optimal performance. Dust, debris, and insect nests can interfere with sensor functionality, leading to false alarms or system failures. Use a soft, dry cloth to gently wipe down sensor housings and lenses.
Avoid using liquids or abrasive cleaners. Check wiring connections for corrosion or damage, and ensure sensors are securely mounted. Inspect magnetic contacts for alignment and proper closure. Address any visible issues promptly. Maintaining clean and well-maintained sensors ensures reliable detection and minimizes potential problems, contributing to a secure environment.
Installer Menu Access & Code Changes (Caution Advised)
Accessing the installer menu allows for advanced system configuration, including zone programming and code modifications. However, this level requires specialized knowledge and should only be performed by qualified technicians. Incorrect settings can compromise system security and functionality.

The installer code is required for entry. Changing the installer code is crucial for security. Always document any changes made. Modifying zone types impacts alarm behavior. Improper adjustments can lead to false alarms or missed events. Proceed with extreme caution and consult the full installation manual before making any alterations within the installer menu.